
10 Tips for Choosing the Best Barcode Printer Labels

A barcode can look perfect on a roll and still fail on a damp carton, a curved bottle, or a fast-moving warehouse line. Choosing barcode printer labels is therefore a practical decision about surfaces, printers, adhesives, and scanning conditions—not just price. GS1 reports that barcodes are scanned more than 10 billion times each day, underscoring how often accurate, readable identification supports everyday commerce. A label that smears or lifts can interrupt that simple process.

GS1 CEO Renaud de Barbuat has emphasized the importance of interoperable standards. Paraphrasing that standards-focused message: dependable identification begins with consistent data and a reliable barcode. A useful rule for buyers is, “Test the label where it will actually be used.” That means printing samples, applying them to the real packaging, and checking readability after exposure to expected handling, moisture, and temperature. Small tests can reveal costly mismatches.

This guide offers 10 practical tips for comparing label materials, adhesive types, sizes, print methods, and barcode compatibility. It also considers roll dimensions, printer settings, and the conditions that affect label life. Not every operation needs premium stock; choosing more than the job requires can waste money. But the cheapest option may peel before a shipment arrives. The right choice depends on evidence from your own workflow, and a sample test is worth the extra step.
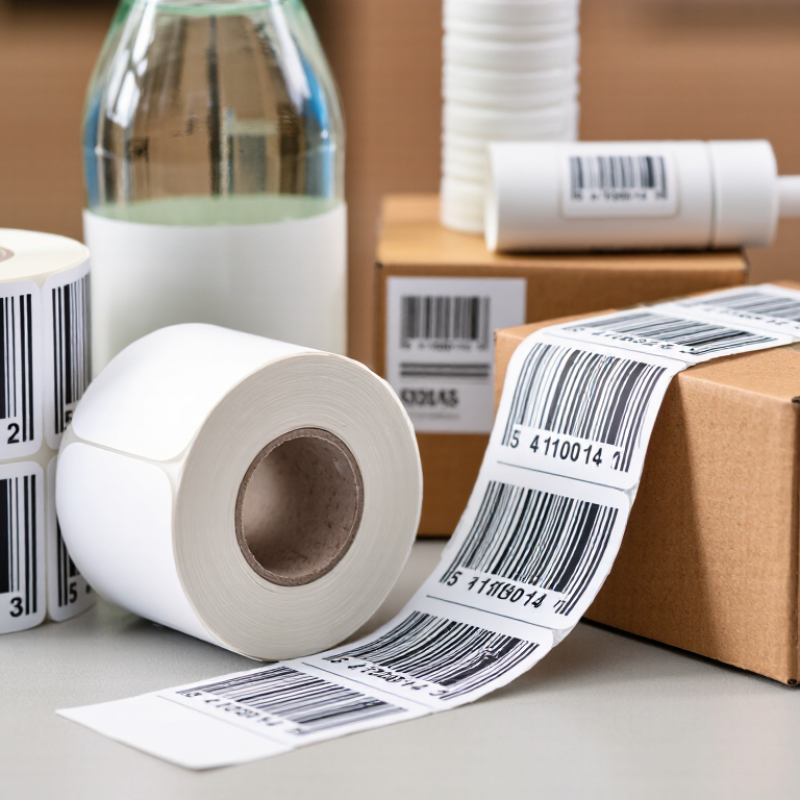
10 Tips for Choosing the Best Barcode Printer Labels

Choose the Barcode Format First: GS1 GTINs Have 8, 12, 13, or 14 Digits

Before comparing printer resolution, label materials, or roll size, decide which GTIN your product requires. GS1 GTINs come in four lengths: 8, 12, 13, or 14 digits. The length is part of the data, not a styling choice. A GTIN-8 may suit a very small retail item, while GTIN-12 and GTIN-13 are common on consumer products. GTIN-14 is often used for cases or other packaging levels. Check the product and packaging requirements with your data or supply-chain team.

Then confirm that your label design and barcode format can carry the chosen number. A GTIN is an identifier; a barcode symbology is the way that identifier is encoded. They are related, but not interchangeable. The scanner, trading partner, and point of use may determine which symbology is appropriate. Keep the required quiet zone clear, and test a printed sample with the scanners that will actually read it.

Small detail. Big consequences.

Protect every digit during label creation. GTINs include a check digit, and leading zeros may be significant. A spreadsheet can quietly remove one if a column is treated as numeric. Store GTINs as text, validate the check digit, and compare the printed code with the source record. It is easy to assume a neat preview means a correct label; it does not. Once the format is confirmed, choose printer resolution and label dimensions that keep bars sharp and readable.

Match Printer Resolution to Label Size: 203, 300, and 600 dpi Are Common

A barcode printer’s dpi rating determines how finely it can reproduce narrow bars, small text, and tight spacing. It does not, by itself, guarantee a readable label. Label size and barcode dimensions matter.

At 203 dpi, standard shipping and inventory labels usually print clearly when codes have enough physical width.

At 300 dpi, finer bars and compact layouts gain definition, especially when a barcode must fit beside product details.

A 600-dpi printer can suit very small labels or dense graphics, but it may add cost without improving an ordinary, generously sized code.

More resolution is not always better.

Match dpi to the barcode’s narrowest element, not just the label’s overall length. A 1-by-2-inch label, for example, can still hold a tiny code that challenges a 203-dpi printhead. Check the barcode requirements, printer settings, and compatible media, then print samples at the intended speed.

Test it in place. Scan the samples under warehouse lighting and from the distance workers will use. A label may look crisp on a desk yet become harder to scan after smudging, bending, or fast handling.

I would choose the lowest resolution that scans consistently, then reassess when changing label stock or barcode size. One detail is easy to miss.

Set GS1-128 Quiet Zones to at Least 10X on Each Side

GS1-128 labels need clear space on both sides of the barcode. Keep each quiet zone at least 10 times the X-dimension, which is the width of the narrowest bar or space. For example, if the X-dimension is 0.5 mm, leave at least 5 mm of blank space on each side. Do not place text, borders, or nearby graphics in these zones. A barcode may look tidy and still fail to scan if a printed line crowds its edge.

Tip: Check the quiet zones after printing, not just in the design file. Measure from the barcode symbol to the nearest ink or graphic. Print a test label at the final size, then scan it under ordinary warehouse lighting. Small shifts can happen when labels feed through a printer.

Keep the barcode’s proportions intact when adjusting its size. Avoid shrinking it to fit a crowded label; revise the layout instead. Also check that the label stock and print settings produce dark, consistent bars against a clean background. A slightly smudged edge can reduce contrast. Real print runs are not always perfect, so test more than one label and recheck after changing the printer, stock, or layout. These checks help catch problems before labels reach cartons or shelves.

10 Tips for Choosing the Best Barcode Printer Labels - Set GS1-128 Quiet Zones to at Least 10X on Each Side

Tip Selection Factor Practical Recommendation What to Verify
1 GS1-128 quiet zones Leave a clear, unprinted area at least 10 times the narrowest bar width (10X) on both the left and right sides of the barcode. Measure the blank space from the outermost bar to nearby text, borders, graphics, or other printed marks.
2 Label material Choose a face material compatible with the surface and environment, such as paper for many indoor uses or synthetic material where greater moisture or abrasion resistance is needed. Test adhesion and print quality on the actual package or product surface under expected handling conditions.
3 Direct thermal or thermal transfer Use direct thermal labels when short-term image life is suitable. Consider thermal transfer when the application needs a more durable printed image and a compatible ribbon. Confirm printer compatibility and test the printed label for fading, smearing, and abrasion over the required service life.
4 Printer resolution Match the printer’s resolution to the barcode’s narrowest elements and the available label space. Common thermal printer resolutions include 203, 300, and 600 dpi. Print at the intended size and confirm that narrow bars and spaces remain distinct and the symbol scans reliably.
5 Label size and layout Choose a label wide and tall enough for the required barcode, human-readable information, and quiet zones without compressing or cropping the symbol. Check the complete printed layout at actual size, including margins, placement, and any required text.
6 Adhesive performance Select an adhesive suited to the surface, application temperature, and required permanence. Adhesion can differ on cardboard, plastics, and curved or textured surfaces. Apply sample labels to representative surfaces and check edge lift, sliding, and removal behavior after application.
7 Environmental exposure Consider exposure to heat, cold, moisture, sunlight, chemicals, and friction when choosing both the label material and printing method. Evaluate samples under the actual storage, transport, and use conditions expected for the labeled item.
8 Barcode data and scaling Generate the GS1-128 symbol from validated data and preserve its proportions. Do not stretch, squash, crop, or add design elements inside its bars and spaces. Confirm the encoded data and application identifiers, then inspect the symbol after printing at its final size.
9 Print quality verification Use a barcode verifier when print quality must be measured; linear barcode verification commonly follows ISO/IEC 15416. Set acceptance criteria with the applicable GS1 requirements and the receiving or trading-partner specification.
10 Production testing Test labels using the intended printer, media, ribbon if applicable, print settings, and application process before committing to a production run. Scan samples from the beginning, middle, and end of a run and confirm consistent placement, legibility, and quiet zones.

Select Label Facestock and Adhesive for the Surface and Environment

A barcode label is a small material system: facestock, adhesive, and surface must work together. Paper suits dry cartons, while film facestock better tolerates splashes, abrasion, and repeated handling. On a curved bottle, a stiff label may lift at the edges. On a cold tote, condensation can weaken an adhesive that performs well at room temperature. Match adhesive to the actual surface, too: textured plastic, powder-coated metal, and recycled cardboard can behave very differently. Test the label on the real item. Then test it after chilling, rubbing, or exposure to cleaning fluids.

GS1’s General Specifications use a barcode quality grade from 0.0 to 4.0 under ISO/IEC 15416; the required grade depends on the scanning application. That score measures symbol quality, not whether the label will stay attached. ASTM D3330/D3330M provides a standard method for measuring pressure-sensitive tape peel adhesion, but lab results alone cannot predict every surface or environment. A practical trial should check both adhesion and barcode readability after handling. I still see teams approve labels on clean, flat samples only. That shortcut can backfire. Test corners, seams, and damp surfaces. Keep a few samples for later comparison.

10 Tips for Choosing the Best Barcode Printer Labels

Select label facestock and adhesive to suit the surface and environment.

Relative fit scores (1 = limited fit, 5 = strong fit) are a general selection guide, not product test results. Actual performance depends on the specific facestock, adhesive, surface, and exposure conditions; test the label on the intended application.

Verify Print Quality with ISO/IEC 15416 for 1D or 15415 for 2D Barcodes

A barcode can look sharp and still fail under a scanner. Check printed samples with a calibrated verifier, not only a handheld scanner. ISO/IEC 15416:2016 specifies print-quality assessment for 1D barcodes; ISO/IEC 15415:2011 covers 2D symbols. Both use grades from 0.0 to 4.0, commonly reported from F to A. These are measured results, not visual opinions. Ask suppliers for the actual verification grade and test conditions.

For 1D labels, the verifier checks factors such as symbol contrast, defects, and decodability. For 2D labels, it also evaluates features including grid and axial nonuniformity. Test labels from the intended printer, stock, and ribbon combination. Keep the verifier aperture and lighting settings aligned with the symbol type. Small changes matter. A glossy topcoat may create glare; a narrow bar can spread when heat is too high. GS1’s General Specifications also make clear that symbol quality must suit the application, so a passing result alone may not settle every operational need.

Record grades across several samples, including labels printed after the machine warms up. Compare results against the receiving system’s requirements. Do not rely on one perfect label. That is easy to overlook. A low score should prompt a check of print darkness, speed, head cleanliness, and label surface before changing the barcode artwork. A short test log can reveal drift that casual inspection misses.